Highway Racing Garage Progression Roadmap
Stage-by-stage climb from starter hatchbacks to 1,200 HP hypercars without wasting Cash.
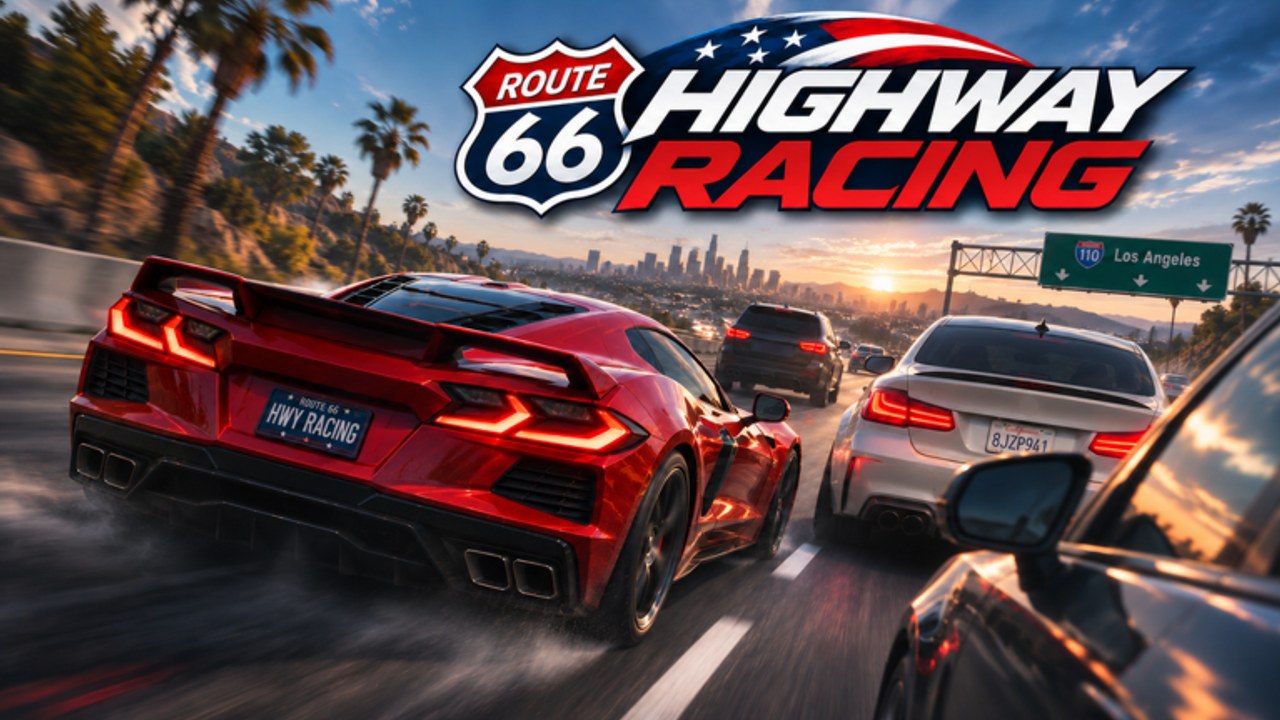
This Garage Roadmap is the deep progression plan for Highway Racing’s ~32-car roster. Use it when you know the lobby fantasy—interstate traffic, near-miss chains, nametag best runs—but are unsure what to buy next. Letter stages map to the same S–D bands on the Car Tier List. Pair every spend with fair income from Codes and Earn Cash Fast, not risky Scripts.
Highway Racing by Highway Racers (PlaceId 134426802645223) pays Cash every second while you drive, scales pay with speed, and ends combo chains on one scratch. That economy rule decides the roadmap: unlock the highest tier you can still drive clean for several minutes. A crashed S-tier hypercar loses to a planted B-tier sports car every time.
New accounts should skim Getting Started once so menus do not eat your first code boost window.
Spend order after codes (do this first)
- Claim daily rewards (up to $160,000—see Daily Rewards and the money loop on Earn Cash Fast).
- Redeem every active code on the Codes Hub (GOAL’s flat Cash + 2x window, plus RELEASE / HIGHWAY / SECRET style lumps).
- Warm up two clean minutes in whatever you already own.
- If GOAL’s 2x is live, grind speed—do not open the paint shop.
- Buy the next handling/speed step on the D→C→B ladder, not cosmetics.
- Only after a stable “main” exists, open Customization for paint, rims, tints, and underglow.
Skipping steps 1–4 to wrap a hatchback in underglow is the classic early-account trap.
Stage D — Hatchbacks / economy starters
Goal: Learn camera distance, braking markers, and safe lane changes without 300 MPH panic.
Buy / keep: The forced starter and any dirt-cheap hatchback. Treat D as a classroom, not a forever main. Community beginner picks and the early ladder live on Beginner Cars, with full S–D context on the Car Tier List.
Drill: Ten minutes of Controls focus. Ignore nametag envy.
Exit criteria: You can change lanes without scraping and you have code/daily Cash banked for a C upgrade.
Do not: Dump the entire GOAL payout into D cosmetics.
Stage C — Sport compacts / early performance
Goal: Noticeable acceleration so gaps close before traffic boxes you in.
Buy: The cheapest upgrade that clearly improves launch and stability over pure economy hatches.
Drill: Entry speed into predictable AI packs; practice the first layers of Near Miss Combo at a slightly lower target speed.
Exit criteria: Scratch rate falling while Cash-per-minute rises versus D.
Do not: Over-invest rims on a car you will replace this week.
Stage B — Mid sports (your real main)
Goal: Best value chassis for daily reward sessions, long interstate farms, and early race meets.
Buy: Mid sports / performance cars that the tier list marks B. This is where most players should live for hours of efficient grinding.
Drill: Eighteen-minute clean routes from Earn Cash Fast. Hold combos without hero gaps. Invite friends only when you can keep a line under pressure.
Exit criteria: Race meets feel readable; story/time-trial objectives in Story Races no longer overwhelm your braking points.
Do not: Leap to S because a lobby hypercar flexed on you.
Stage A — Supercars
Goal: Serious top-speed bands with a slightly wider mistake window than true hypercars.
Buy: Supercars just below sticker-shock S. Excellent during stacked dailies and GOAL’s 2x window—if you can keep them clean.
Drill: Rebuild speed after every traffic lift without panic handbrakes. Stress-test in ~10-player race meets on the interstate.
Exit criteria: Multi-minute scratch-free runs at A pace; nametag personal bests climbing for the right reasons.
Do not: Let auto-buy style Barrage Hub tools dump Cash here before your hands are ready—those scripts also risk bans.
Stage S — Hypercars (~1,200 HP fantasy)
Goal: Peak Cash-per-second and highlight nametag runs when driven cleanly.
Buy: Top hypercars only as a skill gate, not a participation trophy.
Drill: Tiny reaction windows, gentle steer, and refusing suicidal gaps. Film a run; if scratches cluster at the same merge, drop back to A for a practice week.
Exit criteria: You can showcase the car in meets without feeding respawns.
Do not: Assume cosmetics on an S chassis fix handling—read Customization only after the car already earns.
When to customize
Use this gate every time Cash burns a hole in your pocket:
- Before cosmetics: Next chassis on the ladder OR a performance part that lowers scratch rate.
- After cosmetics unlock: You have a keeper main (usually B or higher) and surplus beyond the next planned upgrade.
- Order inside the shop: paint → rims → tints → underglow, matching the guidance on Customization.
- Never during 2x: If GOAL’s multiplier is ticking, the interstate pays more than the garage menu.
Looking fast is optional. Being fast and clean is the economy.
Nametag runs — schedule them on purpose
Best runs display on your nametag. Treat them like timed exams, not background noise.
- Warm up five clean minutes in your most consistent car.
- Pick a readable stretch of highway (long sightlines beat chaotic merges).
- Target a speed band you can hold, then weave near misses without touching.
- Stop after one hard crash streak—fatigue invents scratches.
- Log the result, then return to normal farming so one bad attempt does not tilt the session.
Nametag chasing in an unfamiliar S car is how accounts waste evenings. Climb stages first.
Race meets — the social stress test
Interstate race meets with friends are the best garage audit. Servers cap near 10 players, so everyone sees messy lines.
- Bring the highest tier you can keep clean with spectators watching.
- If you brake-check yourself every on-ramp, drop one stage and practice.
- Use meets to compare whether your B main still out-earns a borrowed A you cannot control.
- After the meet, spend Cash on the weakness the lobby exposed (acceleration, stability, or simply more combo reps)—not on glow.
Weekly garage checklist
- Claim dailies every login streak day.
- Check Codes after milestones and update posts on Updates.
- Run one focused money block per Earn Cash Fast.
- Advance one roadmap stage only when exit criteria are true.
- Attempt one story/time-trial objective when focus remains (Story Races).
- Schedule a single nametag push—not an hour of tilted restarts.
- Customize only the keeper main.
- Ignore script shortcuts on the Scripts Hub; ban risk is not a shortcut.
Linked systems
- Tiers — Car Tier List, Beginner Cars, Tier List Hub
- Money — Earn Cash Fast, Daily Rewards, Codes
- Skill — Near Miss Combo, Controls
- Style — Customization
- Onboarding — Getting Started
- Hub home — Vehicles Hub
Keep this roadmap beside the Vehicles Hub whenever you feel upgrade anxiety. The right next car is the next letter you can still drive without scratching—not the loudest lobby flex.
Frequently Asked Questions
Quick answers to the most common questions.
What order should I upgrade my Highway Racing garage?
Climb D → C → B → A → S. Main a B-tier sports car for most grinding, then move up only when you can stay clean at higher speed.
What should I buy right after redeeming codes?
Claim dailies, grind any 2x window, then spend on the next handling/speed chassis—not paint or underglow.
When should I customize my car?
After you have a stable keeper main and leftover Cash beyond the next performance upgrade. Follow paint → rims → tints → underglow.
How do nametag runs fit the roadmap?
Schedule short, warmed-up best-run attempts in a car you already control. Do not chase nametags in an unfamiliar hypercar.
Where do I see car letter grades?
Use the Car Tier List for S–D community rankings, then return here for purchase pacing and stage exit criteria.