Highway Racing Car Tier List
Community S–D rankings from hatchbacks to 1,200 HP hypercars.
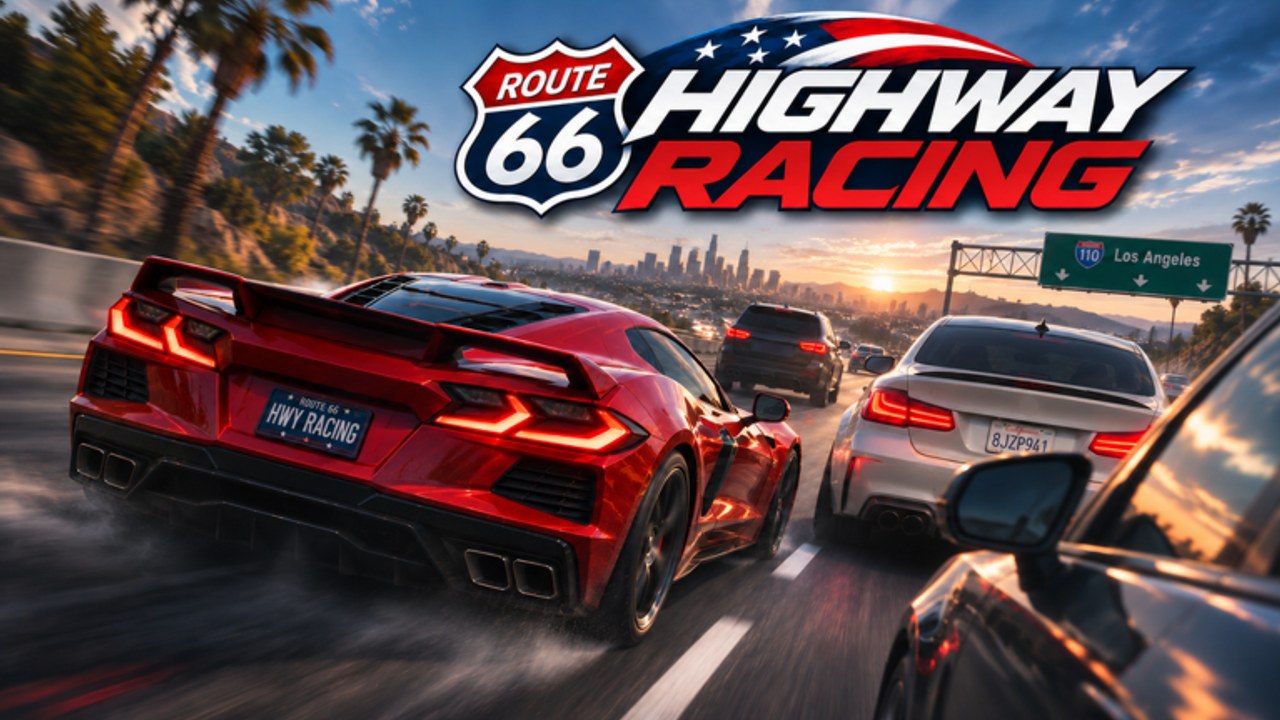
This Car Tier List ranks Highway Racing vehicles by how well they earn Cash, how hard they push past 300 MPH, and how controllable they feel in dense traffic. The roster spans about 32 cars. Exact dealership names shift as Highway Racers adds wraps and variants, so we grade by class bands players actually progress through. Treat every letter as a community estimate for a game that launched on 17 February 2026—not an official balance table.
For criteria theory, skim the Tier List Hub. For purchase pacing, use the Vehicles Hub. For income tactics that make any tier shine, read Earn Cash Fast.
Ranking rules
- S — Best earners when driven clean; peak HP and speed.
- A — Supercar power with slightly more forgiveness.
- B — Mid sports sweet spot for most grinders.
- C — Early performance / sport compact upgrades.
- D — Hatchbacks and economy starters for learning.
A car drops a mental tier on your list if you cannot avoid scratches. One touch ends Near Miss Combo chains, so handling failures destroy theoretical Cash rates.
S tier — Hypercars
Who belongs here: Top-shelf hypercars approaching the 1,200 HP fantasy bracket.
Why S: Highest sustained speed bands mean the Cash-per-second ticker prints hardest. Acceleration out of traffic slowdowns is excellent. Nametag best runs usually come from this class when the driver is clean.
Watch-outs: Snap oversteer at highway speeds, tiny reaction windows, and expensive upgrade trees. If you bought an S car with Codes money before learning traffic, demote it until Controls feel automatic.
Who should buy: Players who already hold long combos in A-tier cars during race meets.
A tier — Supercars
Who belongs here: Supercars just below hypercar sticker shock.
Why A: Enormous speed with a wider mistake window than true S rockets. Excellent for stacked daily reward sessions and GOAL’s 2x Cash window.
Watch-outs: Still punish panic handbrakes. Auto-buy scripts on Barrage Hub may dump you here before you are ready.
Who should buy: Consistent B-tier drivers ready for serious interstate pace.
B tier — Mid sports / performance
Who belongs here: Mid sports cars that define the average experienced lobby.
Why B: Best value for Cash earning versus crash rate. Fast enough to out-earn compacts, stable enough for learning advanced near-miss lines. This is the recommended “main” for most of the player base.
Watch-outs: You will eventually feel HP capped versus hypercars. Resist envy until your scratch rate is near zero.
Who should buy: Anyone past the tutorial hour described in Getting Started.
C tier — Sport compacts / early performance
Who belongs here: First real upgrades above economy hatchbacks.
Why C: Noticeable acceleration gains help you practice entry speed into gaps. Great classroom cars for camera placement and braking markers.
Watch-outs: Top speed caps leave Cash on the table compared with B. Do not over-invest cosmetics here—see Customization later.
Who should buy: Brand-new accounts right after redeeming RELEASE, HIGHWAY, SECRET, and GOAL.
D tier — Hatchbacks / economy starters
Who belongs here: Default and budget hatchbacks.
Why D for earning: Lowest speed ceiling and weakest Cash-per-second. Still S-tier teachers—they slow the game down so you can see traffic patterns.
Watch-outs: Staying in D too long wastes daily reward potential (up to $160,000). Staying zero minutes and jumping to S wastes accounts to crashes.
Who should buy: Only as the forced start; plan your exit using code Cash.
Quick reference table
| Tier | Class | Cash earn | Speed | Handling forgiveness | Priority |
|---|---|---|---|---|---|
| S | Hypercars | Excellent | Top | Low | Late game |
| A | Supercars | Excellent | Very high | Low–medium | Late mid |
| B | Mid sports | Great | High | Medium | Main grind |
| C | Sport compact | Fair | Medium | Medium–high | Early upgrade |
| D | Hatchback | Low | Low | High | Tutorial only |
Spending order that matches the list
- Redeem all codes via How to Redeem.
- Leave pure D hatchbacks after one short practice loop.
- Move C → B as soon as you can afford a stable sports upgrade.
- Farm in B while learning combo routing.
- Step to A when race meets feel easy.
- Unlock S hypercars as a skill gate, not a flex purchase.
- Only then empty wallets into paint, rims, tints, and underglow.
Story and time-trial rewards from Story Races should feed the same ladder. Updates may retune HP—recheck Updates after patches.
Myths to ignore
- “Most expensive is always best.” Not if you crash it.
- “Underglow increases speed.” Visual only.
- “Scripts pick optimal tiers.” Auto Buy Cars spends money; it does not measure your scratch rate. See Scripts.
- “Tier letters are permanent.” Community estimates move after balance notes.
Related pages
Drive the highest tier that still lets you weave without scratching. That single rule beats any static letter grade on this page.
Frequently Asked Questions
Quick answers to the most common questions.
Are these car tiers official?
No. They are community estimates based on cash earn rate, speed, and traffic handling for a still-evolving Roblox release.
What tier should beginners use?
Start in D/C hatchbacks and sport compacts, then main a B-tier mid sports car once codes and early Cash allow.
Which tier earns the most Cash?
S-tier hypercars earn the most when kept clean at very high speed. Crashes can make a B-tier car better in practice.
How many cars are ranked?
About 32 cars exist in the garage. This list grades them by class bands rather than fragile exact dealership labels.
Should I customize before upgrading tiers?
No. Buy performance first, then spend on paint, rims, tints, and underglow.